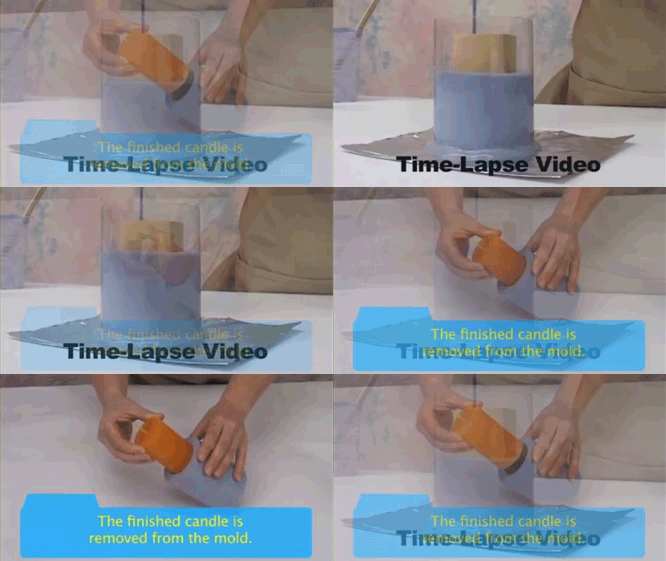
Let Smooth-On help you get started with candle making basics with easy-to-use OOMOO™ silicone rubber. Follow this step-by-step tutorial and read the Technical Bulletins and you will be ready to start crafting molds so you can make your own homemade candles. This tutorial details the process of making a silicone rubber mold for casting wax to make candles.
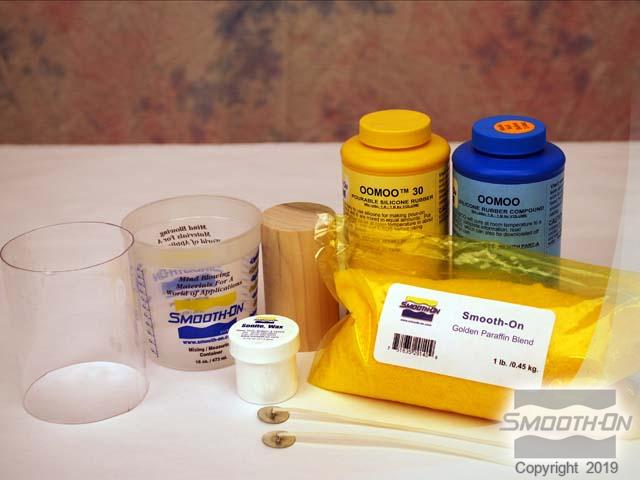
Before starting, prepare all materials and tools
Step 1. Construct a base for the mold. This can be wood, plastic, or foil as shown here
Step 2. Attach model to base. In this case, the model is a wooden dowel.
Step 3. Seal the model if necessary. Porous models like wood need to be sealed.
Step 4. Set up a container for the mold rubber. Plastic containers work well for this. Seal all seams to keep liquid rubber from escaping.
Step 5. Dispense silicone rubber as per the manufacturer's instructions. OOMOO™ silicone is dispensed 1:1 by volume.
Step 6. Mix silicone using the 'Double Mix and Pour Technique'. No color streaks indicates material is well mixed.
Step 7. Pour mixed rubber over model. Pour in the lowest part of the mold container, allowing rubber to flow 1/2 inch over the model.
Step 8. After rubber cures for 6 hours, demold the rubber mold by removing the plastic mold box.
Step 9. Demold the model, leaving a negative mold cavity. Trim any excess rubber from the base of the mold.
Step 10. Prepare the wax by melting in a double boiler. Wear an oven mitt to pretoect from high heat.
Step 11. Perpare the wick by placing in the mold.
Step 12. Pour wax into mold and allow to cool around the wick.
Step 13. Trim the wick.
Step 14. Pour more wax onto the top of the candle if necessary to create a level surface.
Step 15. Allo wax to cool for 2 hours
Step 16. Demold the candle and enjoy!
You Will Need: OOMOO 30, Sonite Wax, Smooth-On Golden Paraffin Blend (wax beads), Wicks, Mixing Containers, Mixing Sticks, 3'' x 4'' acrylic model container, 2'' x 3.5'' wooden dowel, Brush, Thermometer, Utility Knife, Double Boiler, Oven Mitt, Safety Goggles, Protective Gloves, Nail, Aluminum Foil, Hot Glue, Hot Glue Gun, Scissors
Step 1: Collecting Materials
Main items used in this Guide: 3'' x 4'' acrylic model container, Smooth-On measuring cup, Sonite® Wax, 2'' x 3.5'' wooden dowel, OOMOO® 30 Silicone Rubber, Smooth-On Golden Paraffin Blend (wax beads), wicks.
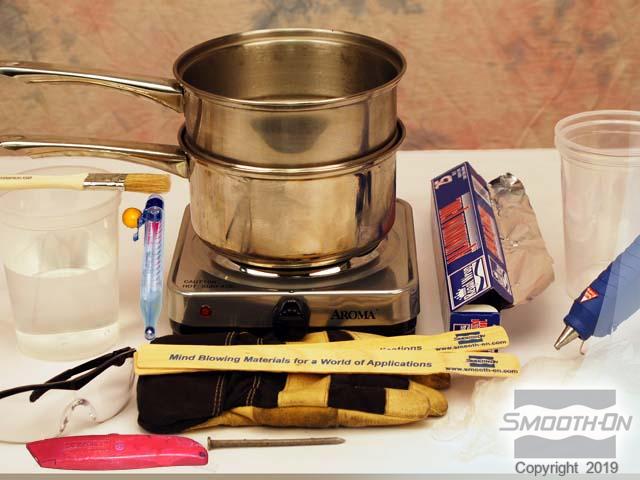
Additional items used in this Guide: brush, water, safety goggles, thermometer, utility knife, double boiler, mixing sticks, oven mitt, nail, foil, mixing cups and hot glue gun.
Step 2: Preparing Work Space
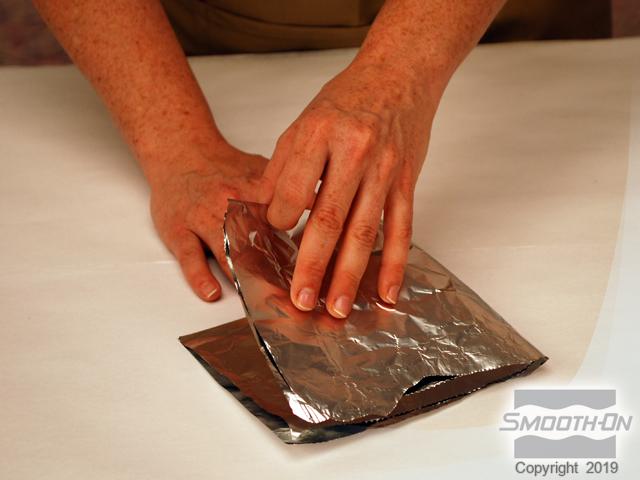
Measure out a sheet of aluminum foil to 16'' x 12'' and fold it into quarters to hold the model during the mold making process.
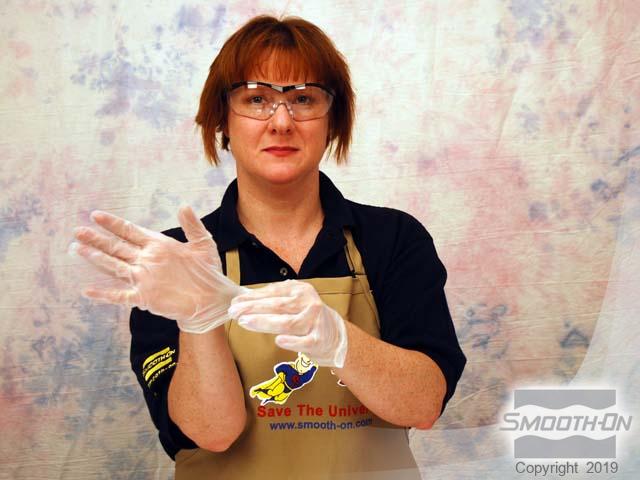
Recommended: Wear protective gloves and glasses.
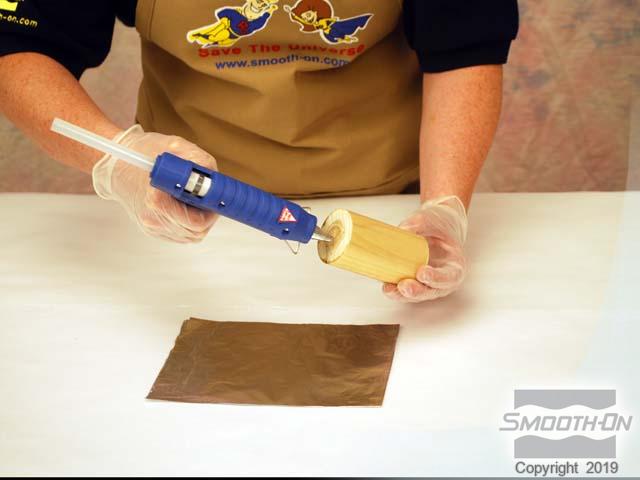
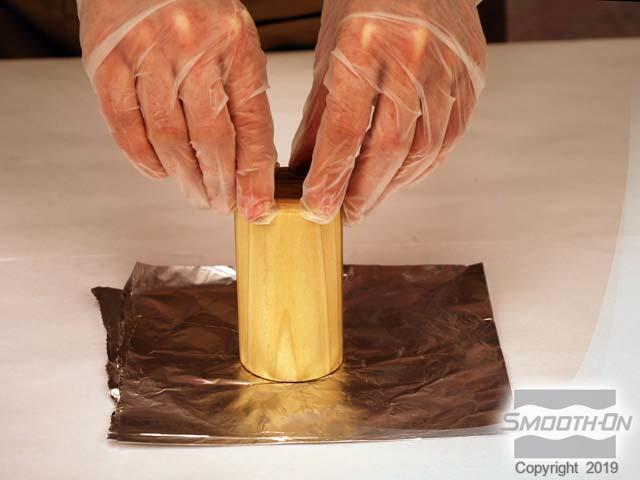
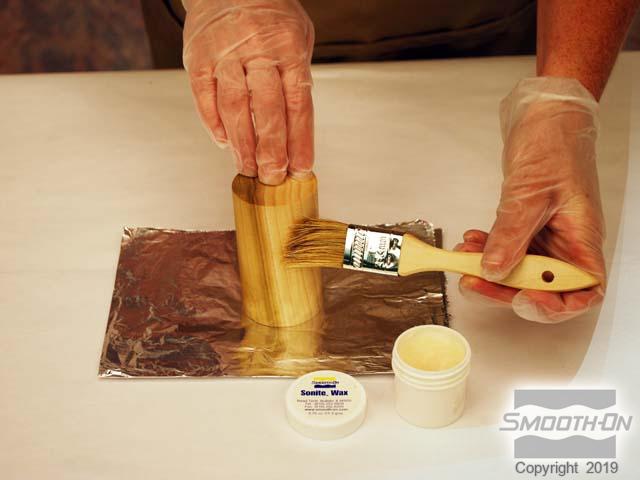
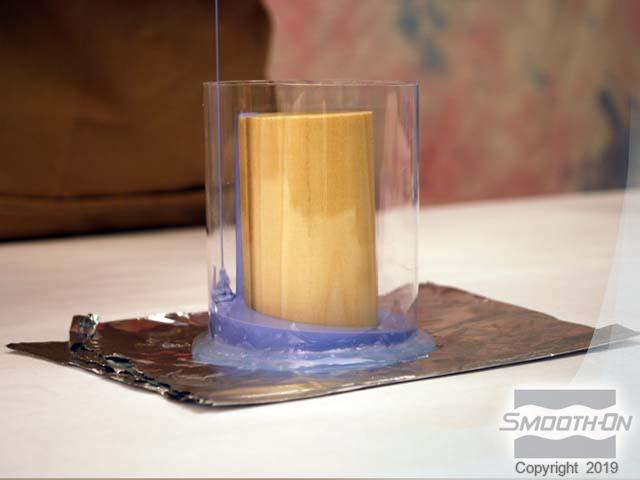
Use the glue gun to put some glue on the bottom of the dowel. Firmly press the dowel onto the center of the foil base for one minute to ensure that it adheres securely. Once glued down securely, seal the top and sides of the dowel by brushing on a thin, even layer of Sonite® Wax. Use the hot glue gun to seal at the juncture where the tube and foil meet. This will prevent the liquid rubber from escaping.
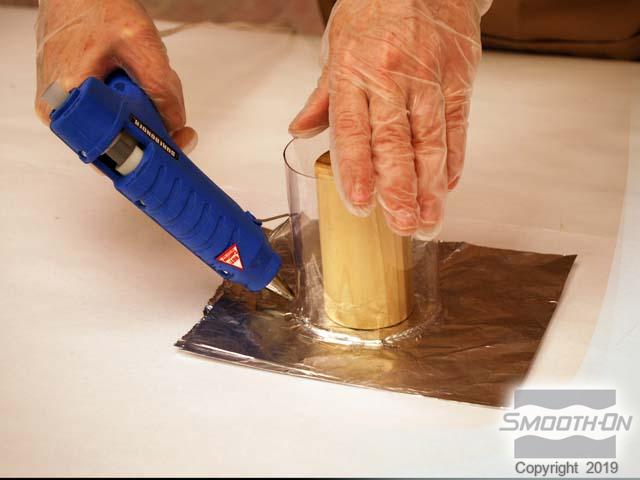
Step 3: Mixing and Applying OOMOO™ 30
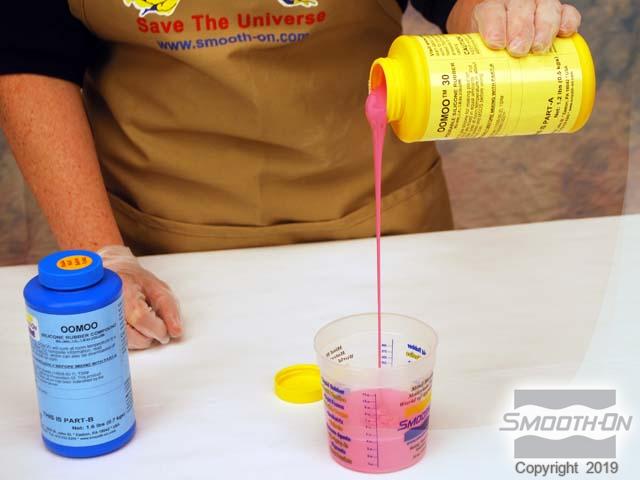
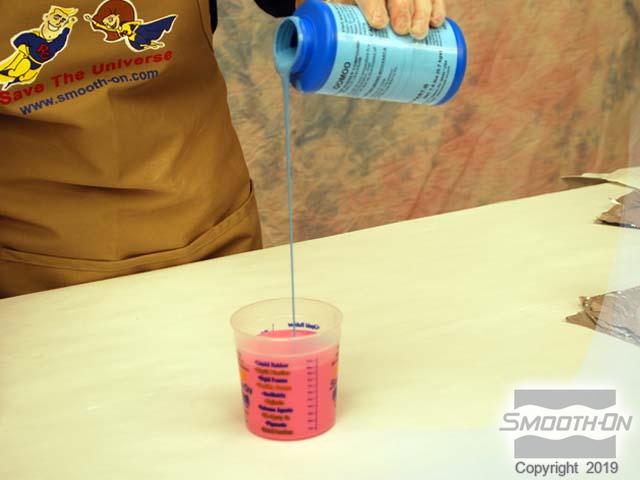
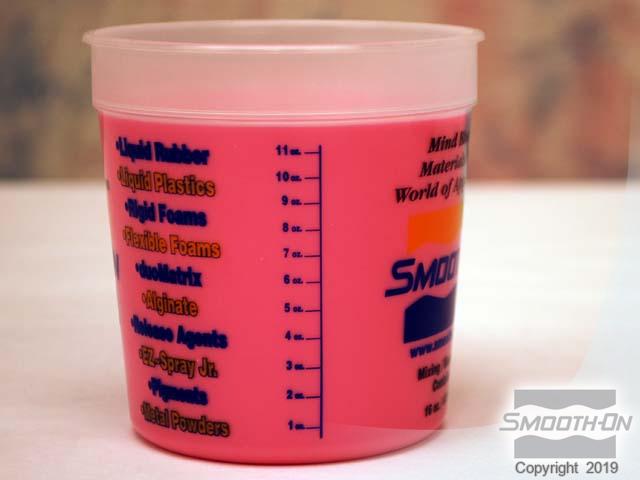
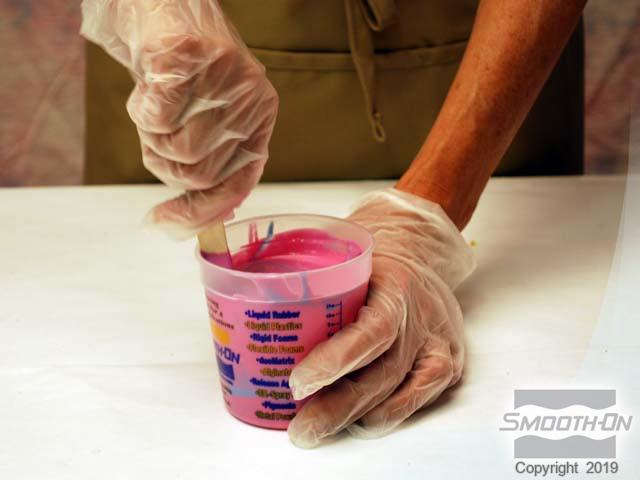
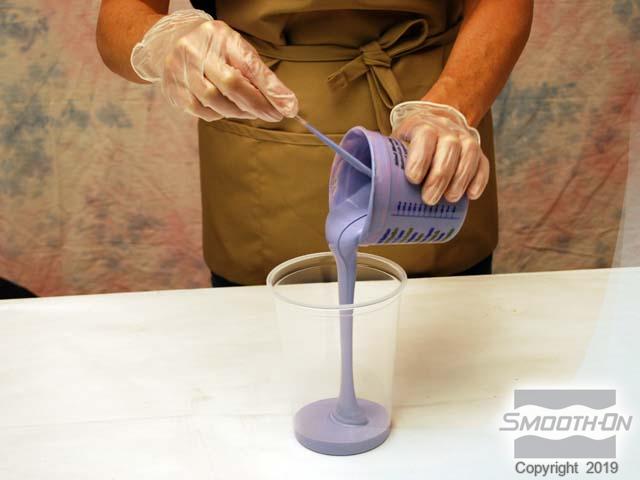
OOMOO™ 30 has a Mix Ratio of 1 Part A:1 Part B by volume. Pour 5.5 oz / 162 ml of Part A into the measuring cup, then pour 5.5 oz / 162 ml Part B into the measuring cup for a total of 11 oz. Mix thoroughly, being sure to scrape the sides and bottom of the container many times until the color of the rubber is uniform. Double mix and pour, making sure there are no streaks in your mixture. Pour the OOMOO™ into a second container and mix some more.
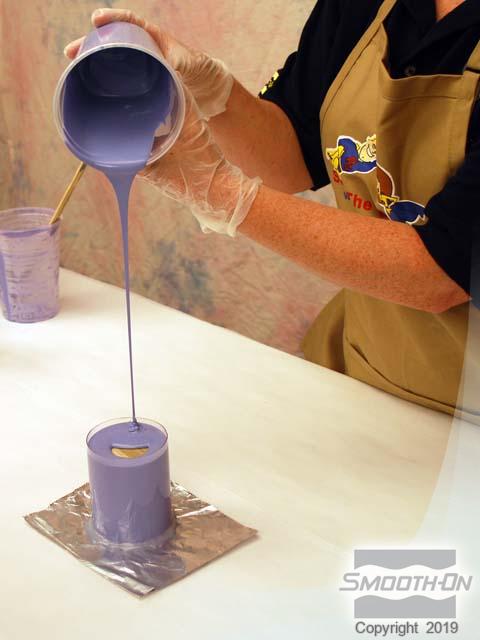
Pour the rubber at the lowest point in the acrylic tube and let the rubber flow around the model. A long, thin stream is advised in order to reduce the amount of potential air entrapment in the rubber. Let the rubber flow up and over the top of the model by 1/2''.
Step 4: Demolding
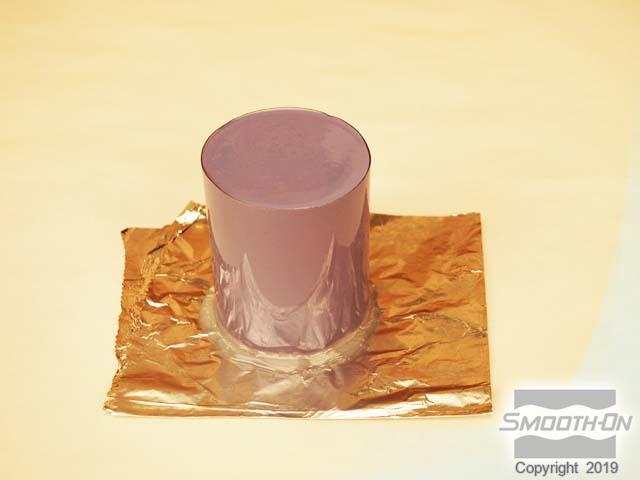
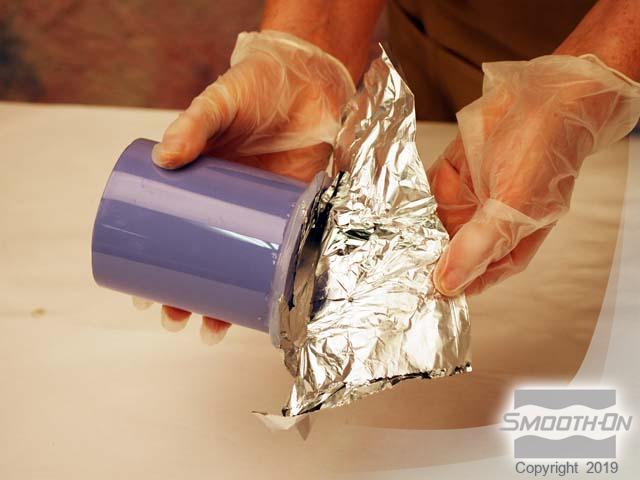
Wait at least 6 hours for the OOMOO® 30 rubber to cure. After 6 hours, remove the foil from the model base.
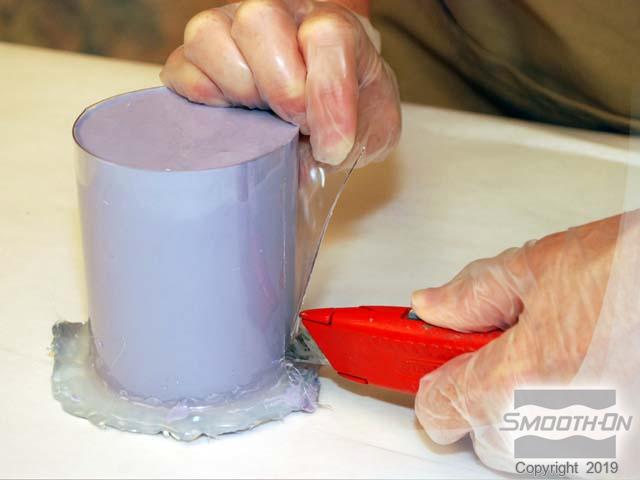
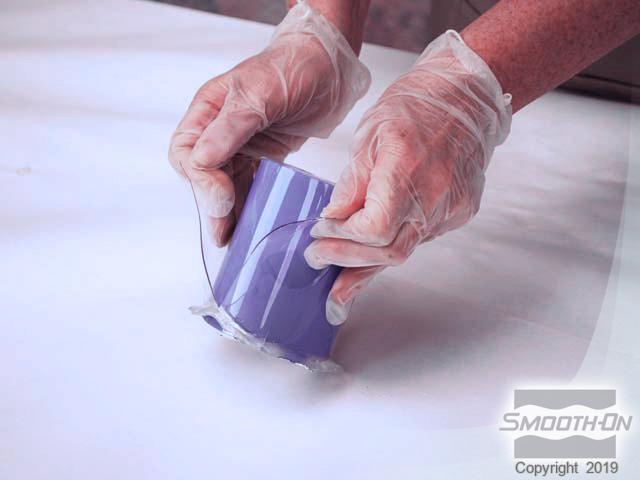
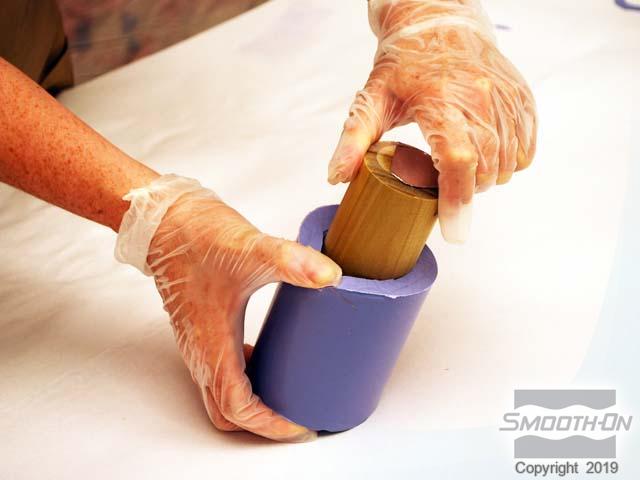
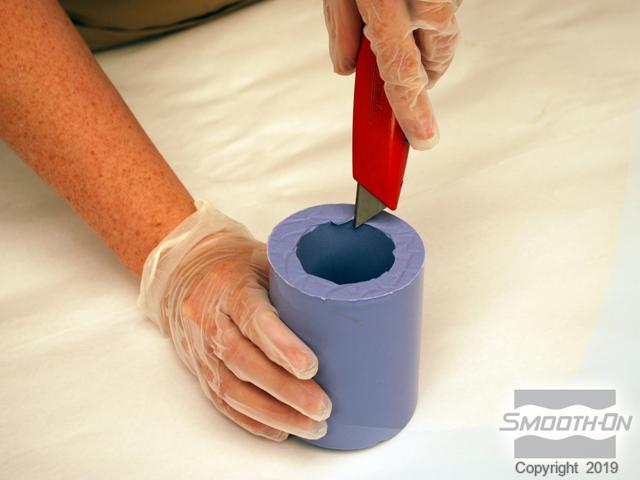
Remove the acrylic tube by carefully cutting in a straight line vertically from the top to the base of the tube. Do not cut yourself! Slowly peel the plastic away from the OOMOO® rubber mold. Remove the wooden dowel model from the OOMOO® rubber mold. Trim any excess rubber from the rim of the mold.
Step 5: Preparing Wax
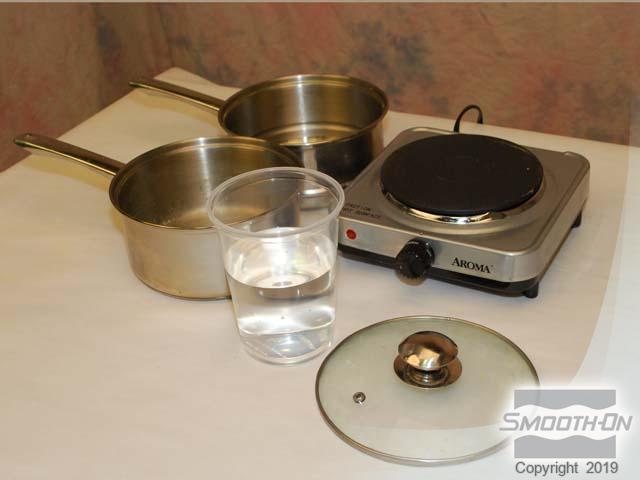
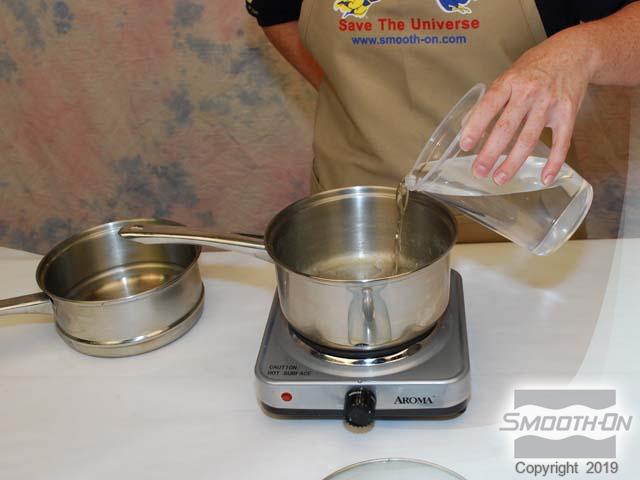
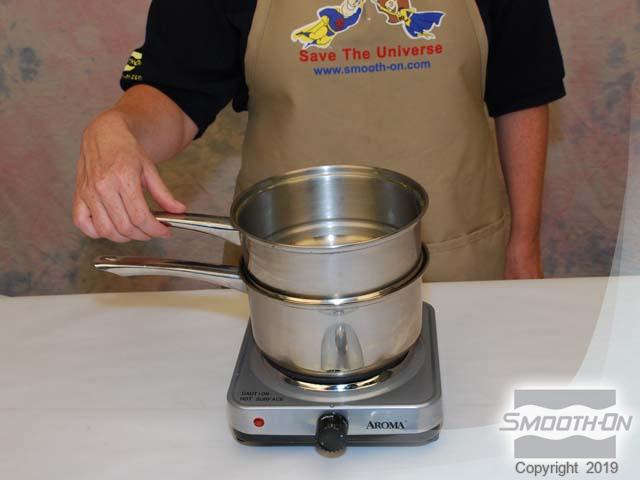
Turn your attention to the double boiler, water, and hot plate. Set the larger pan onto the hot plate and pour 1" of water into the bottom of the pan. Place the smaller top chamber of the double boiler in place on top of the larger pan that you just poured water into.
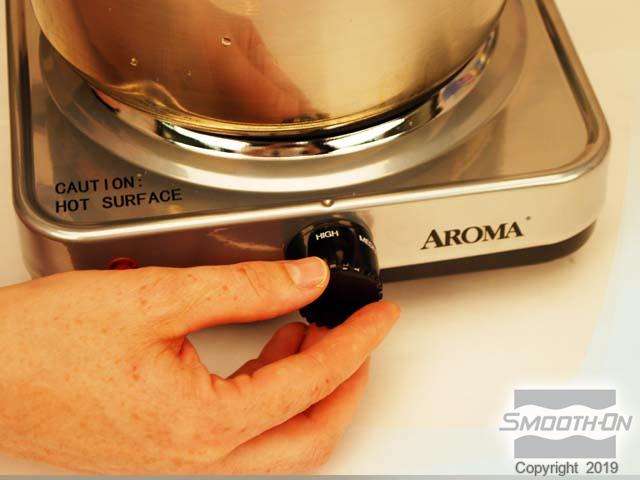
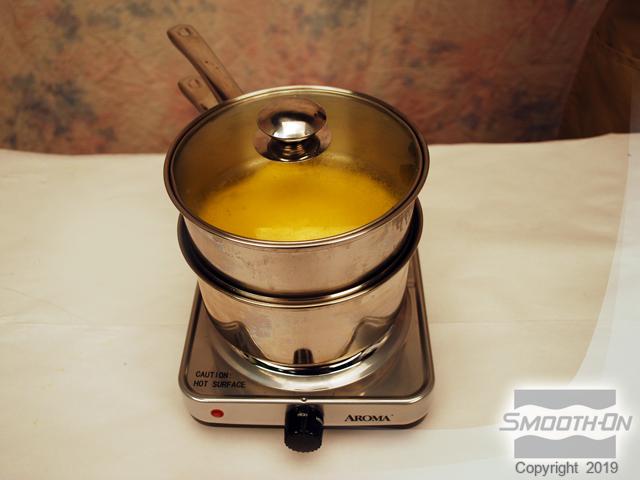
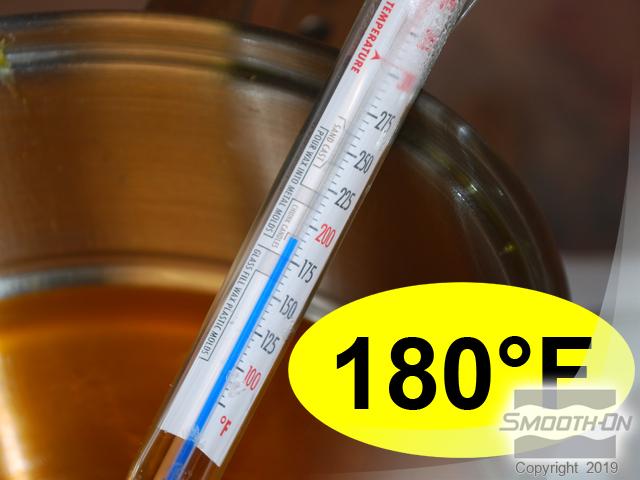
Pour 1/2 of the bag (about 16 oz) of wax beads (Smooth-On Golden Paraffin Blend) into the double boiler. Set the double boiler on high. Put the lid on and allow the wax to reach 180°F/82°C. When the wax beads melt and change from opaque to translucent in appearance, insert the wax thermometer to verify the temperature. The ideal pouring temperature of the liquid wax is 180°F / 82°C.

Step 6: Placing Wick In Mold
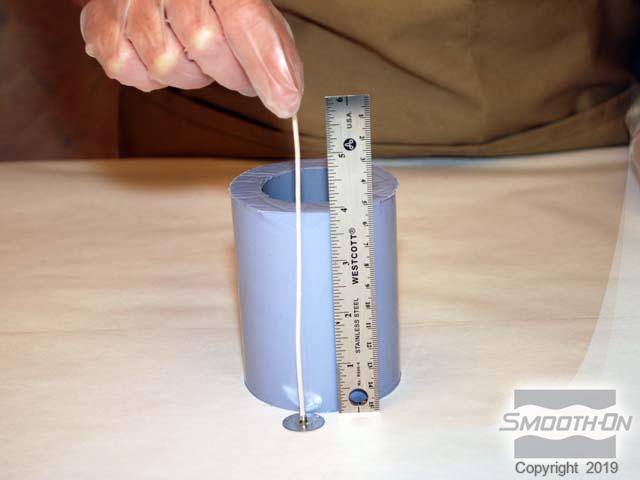
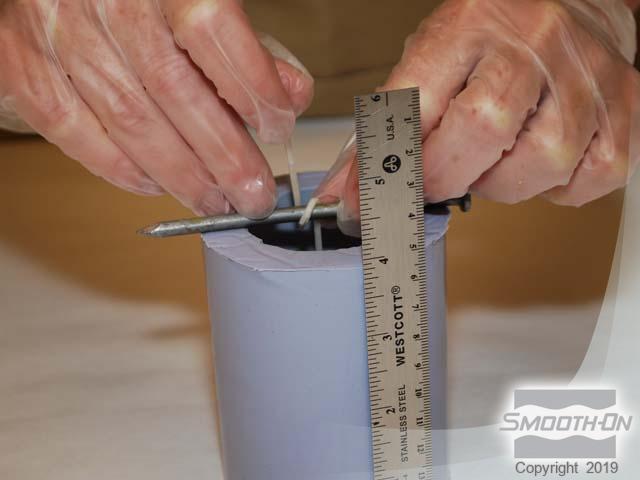
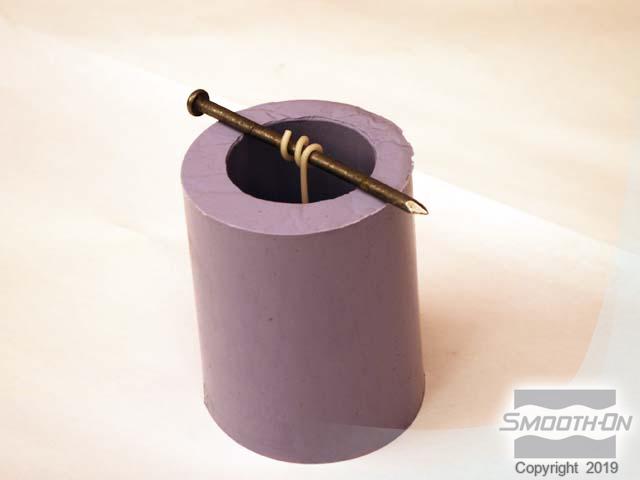
The wick is 6'' long with a metal base. The mold cavity is 3.5'' deep. When measuring the wick length - Center the metal wick base in the bottom of the mold. Wrap excess wick around a nail or similar object (pencil) to eliminate any excess length.
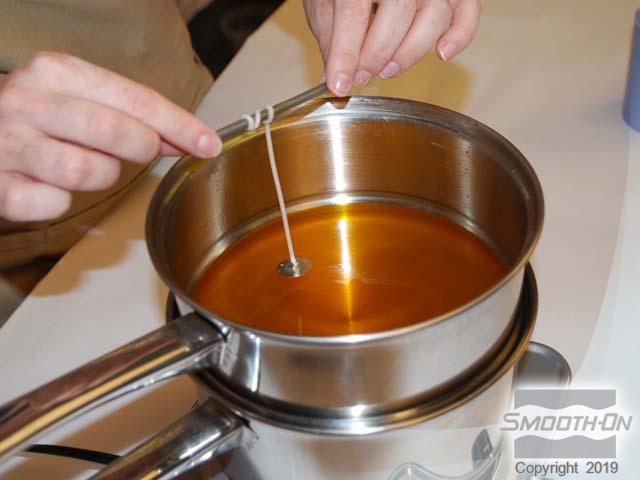
Securing the wick base to the bottom of the mold, immerse the metal base in the hot wax. This will secure it to the mold bottom and hold it in place while the wax is poured. Secure the wax-dipped metal base in the bottom of mold. Rest the nail over the mold opening, making sure it is centered.
Step 7: Casting Wax
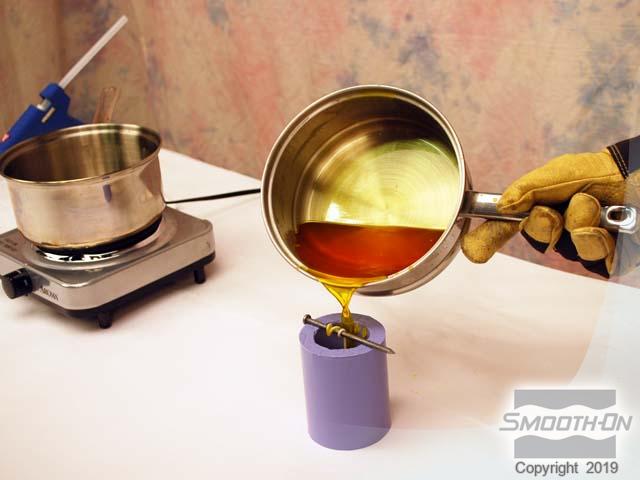
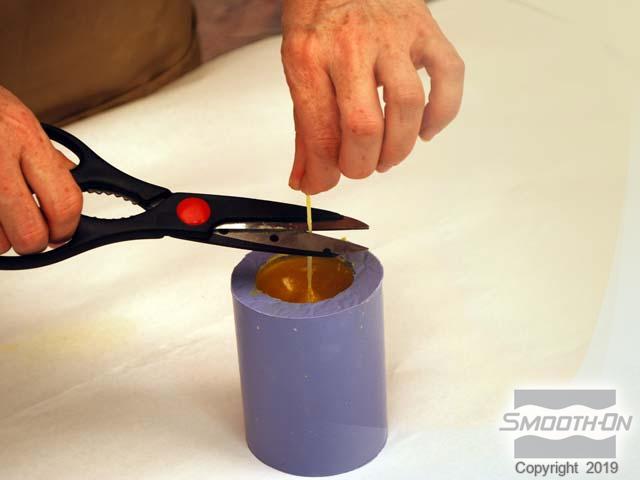
The mold is now ready for the wax pour. Pour the wax carefully to avoid disturbing the nail or spilling wax. Wear gloves if the pot handle is hot. Let the wax cool for two hours. As the wax cools it will shrink and form a depression around the wick. Trim with scissors leaving 1/2'' of wick over the top of the mold.
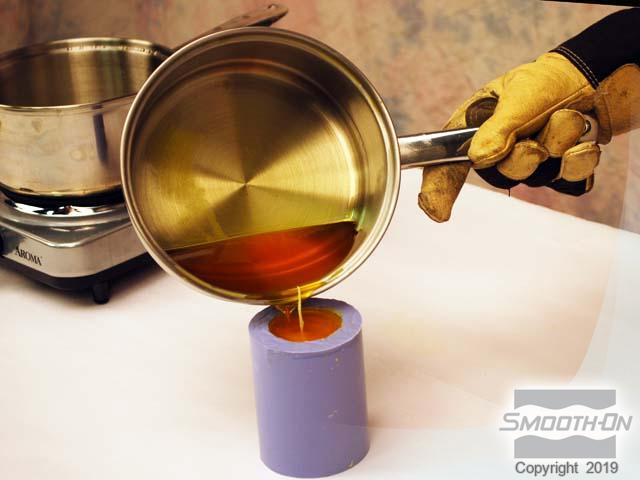
Bring the wax back up to melting / pouring temperature and fill the depression (top off the mold). Let the wax cool for two hours.
Step 8: Demold and Enjoy
The finished candle is removed from the mold. The candle is now ready to be enjoyed. Your OOMOO® 30 mold can be used to cast many more candles. You can use OOMOO® 30 mold rubber to make a mold of almost any original. Candle styles are endless - be creative!


![[Return to Homepage]](/assets/imgs/RAMlogo.png)
